Italian Chicken Cordon Bleu: a New Take on an Old Recipe

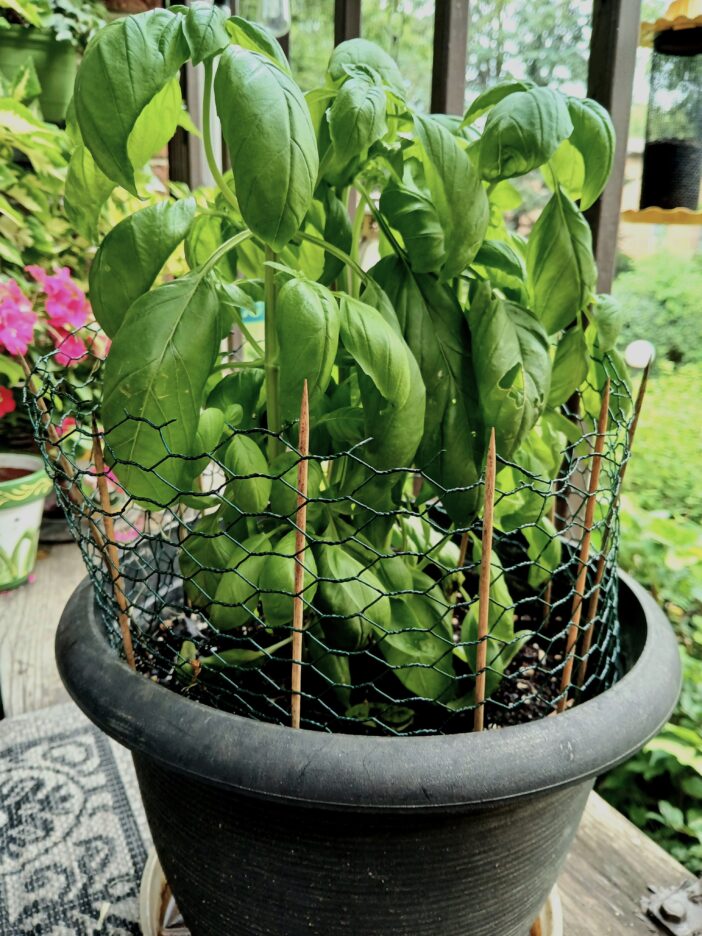
I just made the first batch of Pesto from my sun and heat loving basil plant. It has been living happily on my balcony all summer, but it didn’t have an easy time of it. In fact this is basil plant #3. The first one was heartlessly destroyed by a marauding squirrel. The second one died a quick death caused by our crazy spring weather and a watering mishap. Plant #3 has survived and thrived. Partly because unlike some other plants, it really loves hot, dry, weather, but also because I built a chicken wire blockade surrounded by bamboo sticks that the squirrels can’t invade.
This is a picture of my plant, post pesto haircut. Yes, this is Mama D’s personal war with squirrels.
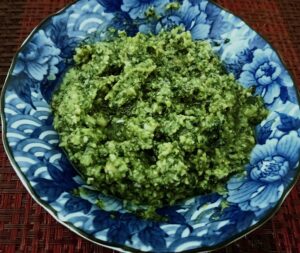
I love fresh basil. I use it in salads and pasta sauce, but my favorite use is to make pesto with it. Pesto is a simple thick and rich sauce simply made with basil, garlic, pine nuts, cheese, and olive oil. It comes together quickly and can be frozen in small portions that can be at the ready to elevate any dish simply by its presence. Here is my original recipe for pesto. I don’t always use the parsley, opting for all basil, but it is good either way. https://mamadskitchen.net/recipe/roasted-garlic-pesto/
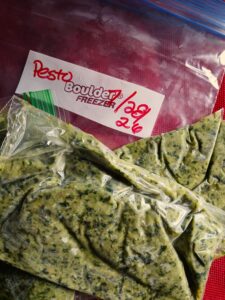
I have written about Pesto, a lot. I searched on my web site and found six pages of recipes that feature pesto in one way or another. It can be the star of a dish or a flavorful supporting player as my recipes illustrate. There has hardly been a year that a recipe using pesto wasn’t on the blog. Just search Pesto on my site and see  for yourself.

As I was looking over the pesto recipes, I found myself thinking that some of them could use an overhaul and decided that I would revisit and possibly re-work a couple of them. I often look back at old recipes and seem to see them with new eyes. Sometimes my available equipment has changed, other times my taste and sensibilities are in a different place.

First up is Chicken Cordon Bleu, Italian Style. I originally made it as a grilled, de-constructed, version using Prosciutto, Provolone, and Sage leaves.  Pesto, in this case, was a garnish. Here is the original version:  https://mamadskitchen.net/recipe/grilled-chicken-cordon-bleu-italian-style/

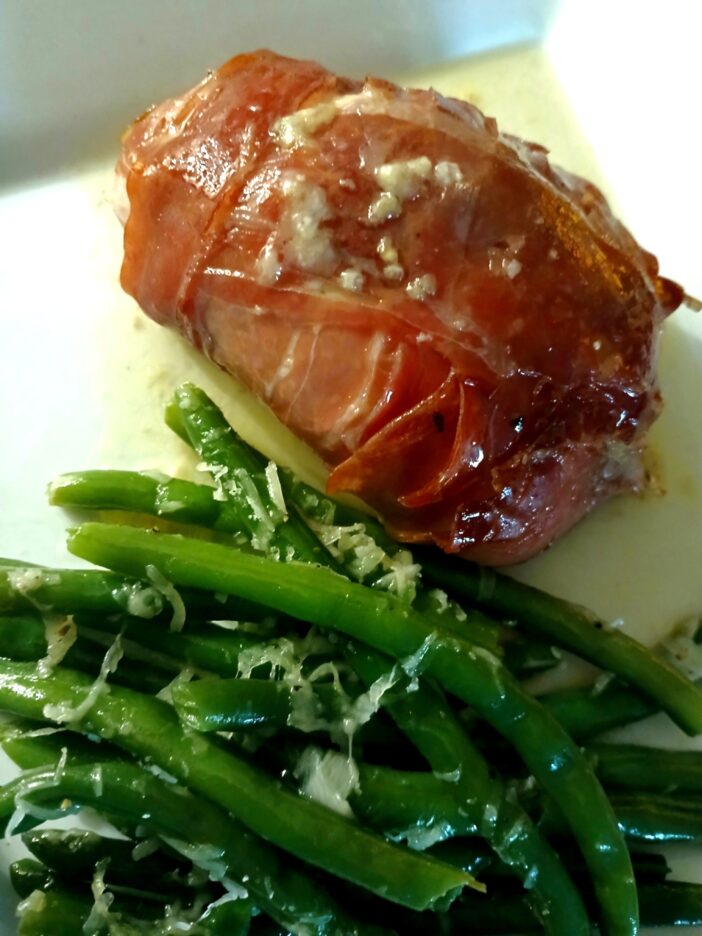
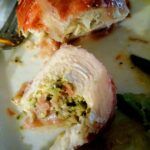
This time around, I wanted to make it more in the style of Traditional Cordon Bleu. That is putting the prosciutto  and cheese (smoked provolone) on the inside and wrapping the outside with more prosciutto. This also meant baking it instead of grilling it. Since I had a fresh batch of pesto, I decided to put it in the inside as well. Then it was a simple (sort of) process of rolling it up and securing it with some toothpicks. Finally, I enrobed it with prosciutto and sent it into the oven.
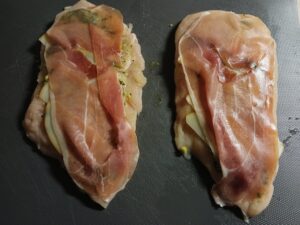
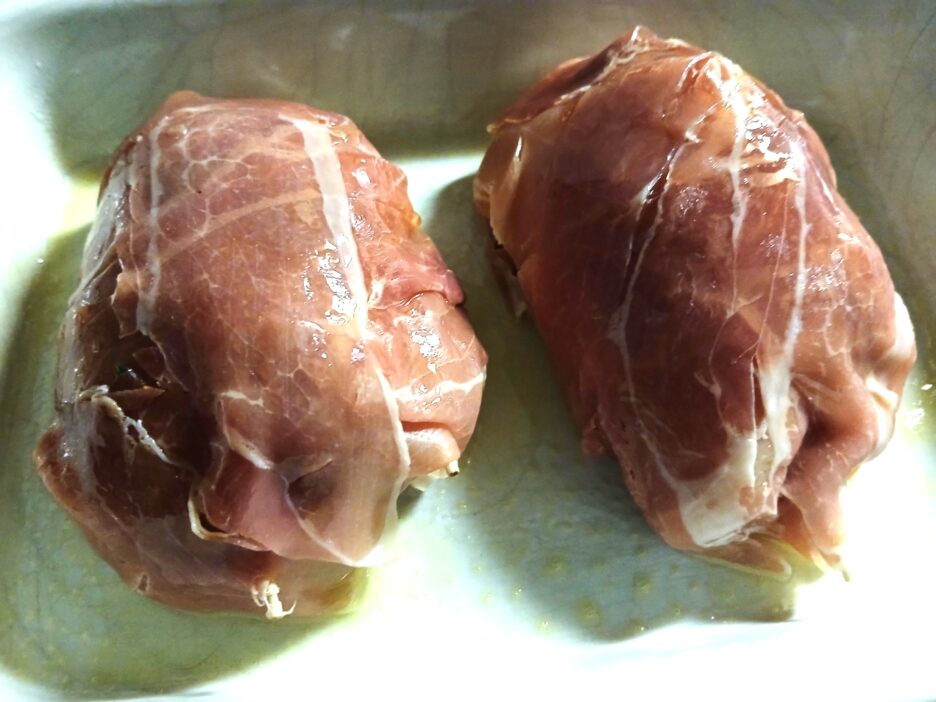
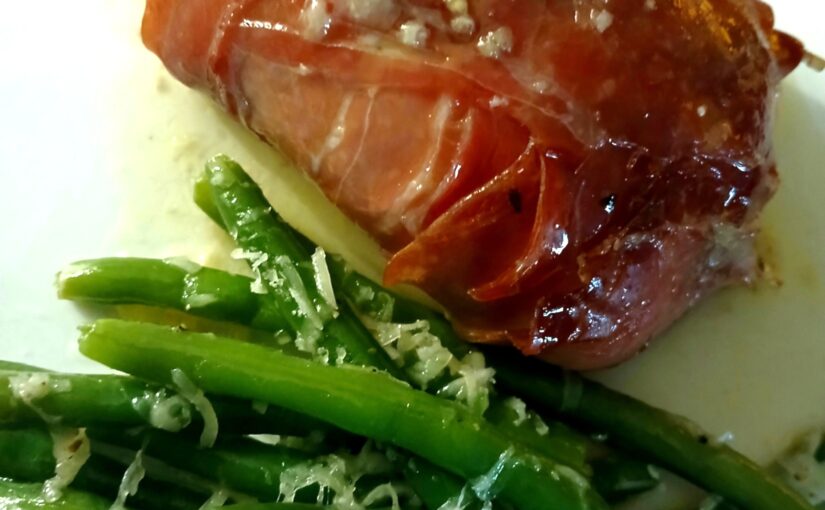
What came out smelled delicious and looked pretty good, too. Once it was plated and accessorized with some green beans it was time for the big reveal.
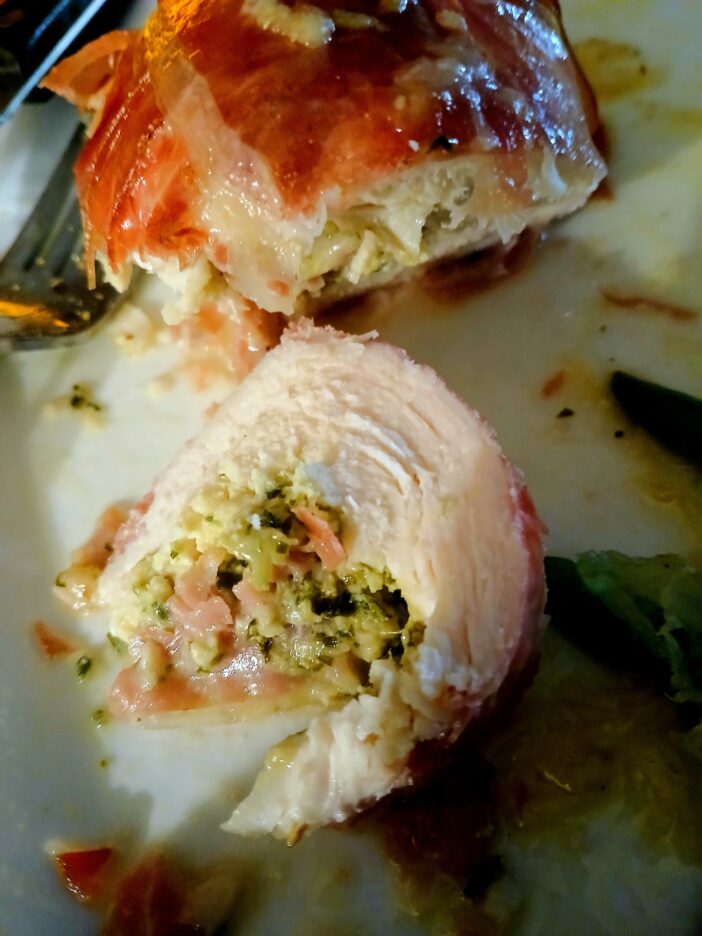
It was very tasty and showed me that every recipe can be changed into something different and sometimes, even better. So now, here with just a little fanfare, is the new version.
Italian Style Chicken Cordon Bleu

A new take on an old recipe.

Course: Main Course
Cuisine: Italian
Servings: 2
Author: binner216@comcast.net
Ingredients
  • 2 Large Boneless Skinless Chicken Breast Cutlets
  • 2 Oz. Provolone Cheese (smoked style if you like) Thinly sliced
  • 1/4 Cup Pesto Homemade if you have it
  • 3-4 Oz. Prosciutto Thin slices
  • Freshly ground pepper
Instructions
  1. Pound your chicken breasts to an even thickness. If your chicken breasts are on the thick side, remove the tenderloin and trim the thicker underside to match the rest of the breast..

  2. Lay the pounded breasts on a mat underside up. Season with pepper. Spread each breast with an even layer of the pesto, leaving a 1/2 inch border.

  3. Layer the cheese on top of the pesto. leave a 1/2 inch edge all around.

  4. Top each breast with 1 slice of prosciutto tear or fold to maintain the 1/2 inch border.

  5. Starting at the thinner, point end, roll the chicken breast firmly but not too tightly. Secure with toothpicks as needed. Make sure you know how many and approximately where they are, trust me.

  6. Wrap the chicken rolls with prosciutto. You can totally enrobe them or for a less salty version, wrap without overlapping..

  7. Place in a baking dish and roast in a 350 degree oven for 25 minutes or until an instant read thermometer registers 160 degrees. Allow to rest until the internal temperature is 165. Remove all of the toothpicks

  8. Serve with a drizzle of the pan juices if you like.

Lemon Pesto Pasta with Shrimp

Summer is here and lighter, brighter food is always a welcome addition to the Kitchen of Love. This dish started with a new Aldi Find. Most people know about Aldi. They offer a finite selection of staples, but they also have their Specially Selected items. These can be all kinds of items from soup to nuts, from cheese to seafood. They are usually only around for a short time and once they are gone, they may never return.

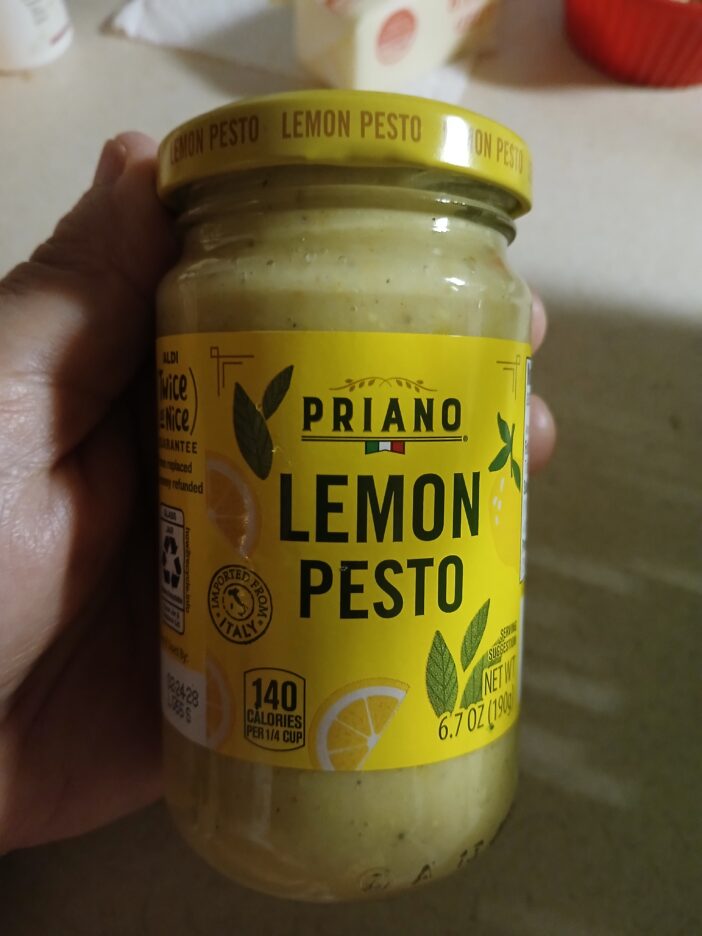
As I glanced through the pasta and sauce aisle, I came upon a new and intriguing Pesto. This one was lemon and who doesn’t love the taste of lemon?

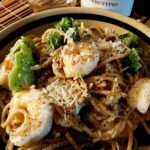
This little jar gave a hint of summer to the recipe that I am sharing. The lemon flavor was subtle, but there was a nice balance of herb and garlic and a very creamy texture that tasted of cheese and possibly ricotta. The dish I came up with used the whole jar and got some help from fresh lemon zest. So now, without further ado, let’s meet the rest of the players. Everything else in this dish came from my pantry, fridge, or freezer.

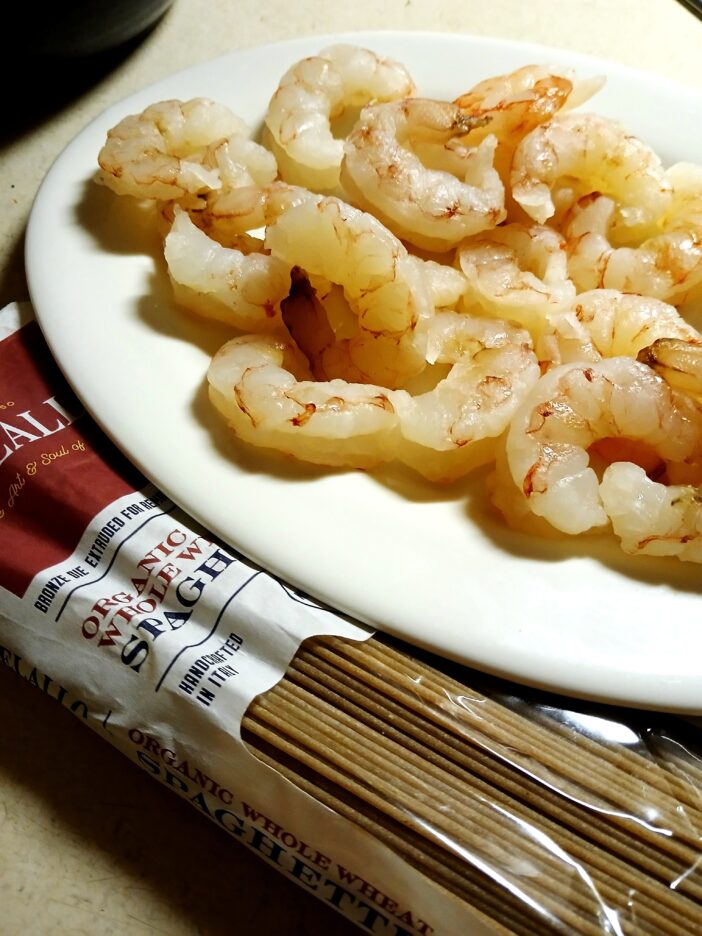
The Shrimp were Argentine Red (16-20 size). I have been liking these more and more lately. They have an almost lobster like flavor and are very tender when gently cooked.  The pasta was Whole Wheat from DeLallo probably around 8 ounces.

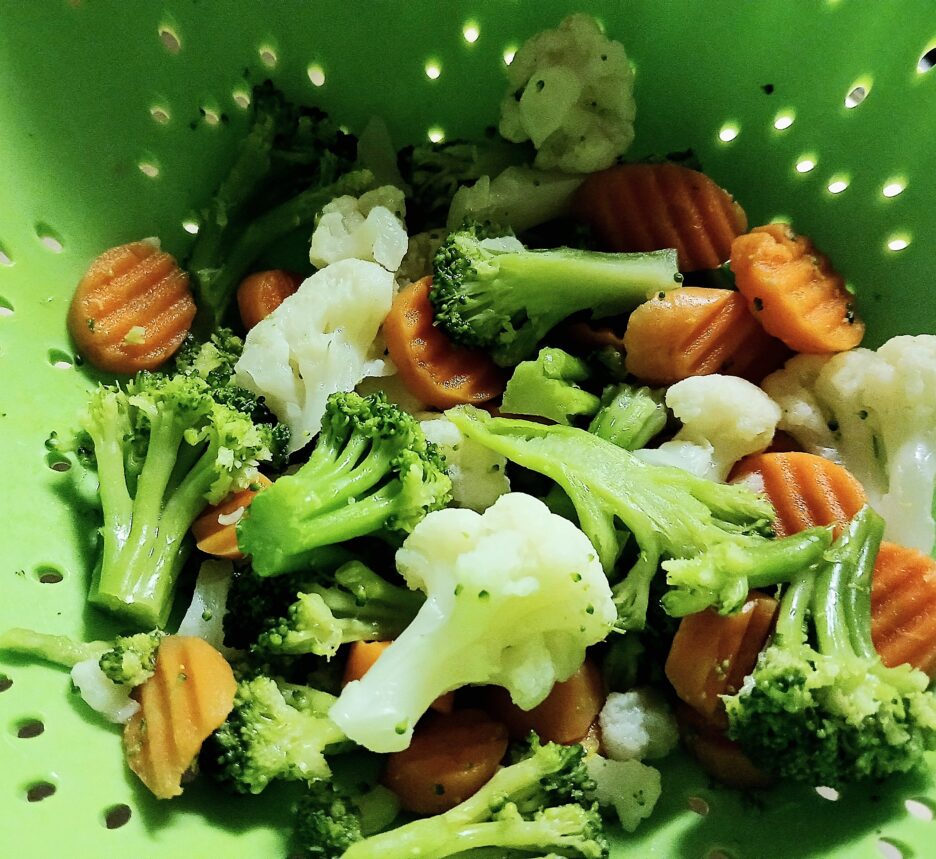
As this was a make do with what’s on hand dinner, I used a bag of frozen California Medley Vegetables. It’s a versatile blend of broccoli, carrots and cauliflower, but another vegetable blend would also work. This would also be very good with fresh vegetables of your choice.

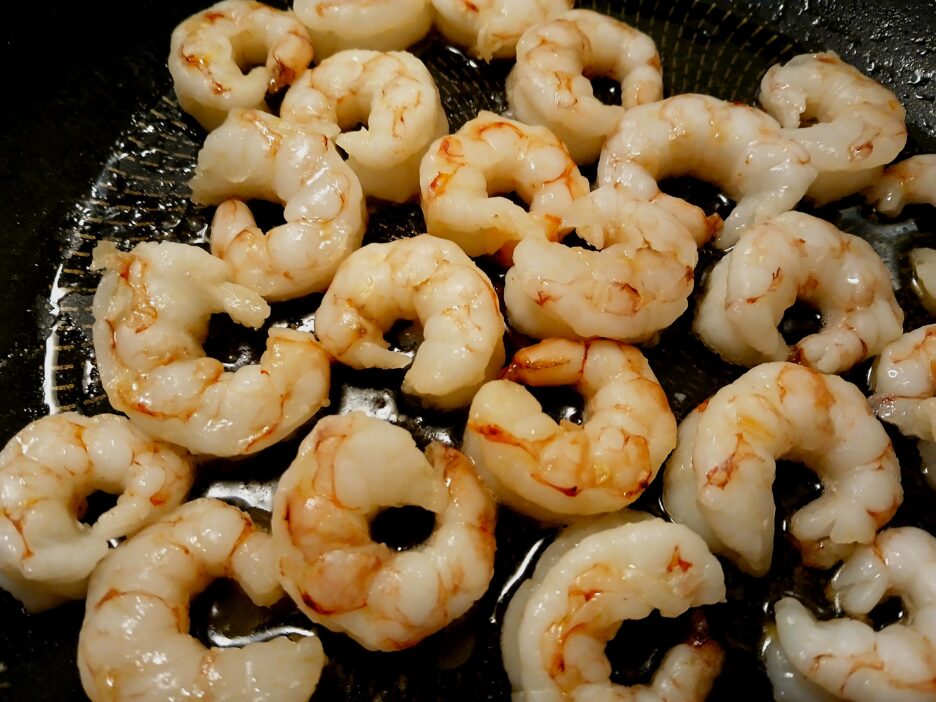
While the pasta was cooking, I prepped the Shrimp. I have been using this method of cooking shrimp lately. Thanks to Christine Pittman ‘s Cook the Story. https://cookthestory.com/garlic-butter-argentine-red-shrimp/. The shrimp  are gently cooked in garlic butter and always turn out tender and flavorful.  

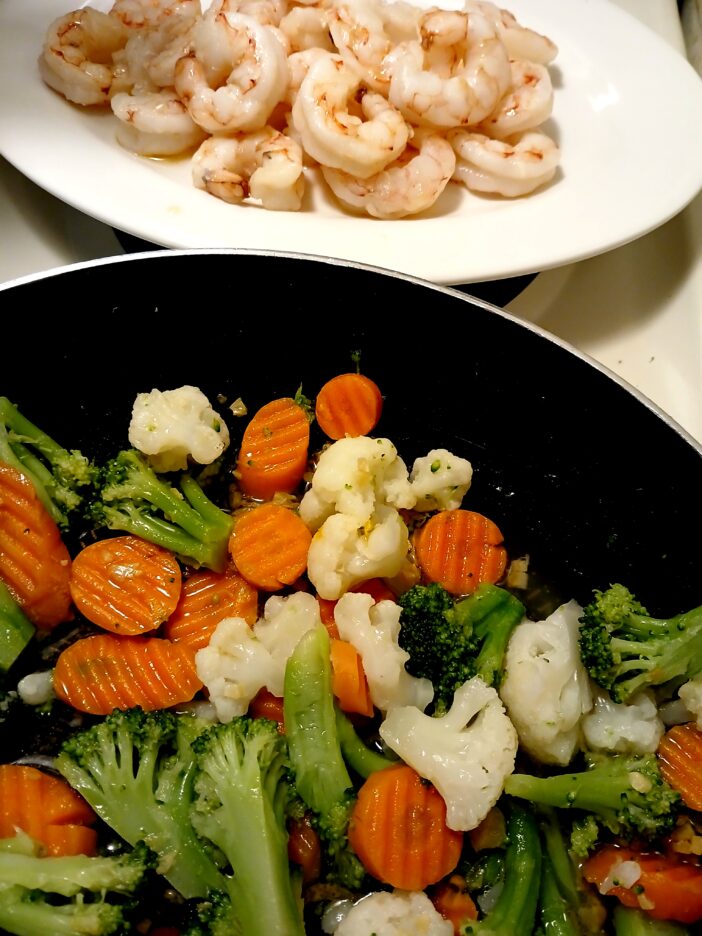
Once the shrimp were cooked, I transferred them to a plate and added the thawed and drained vegetables to the pan of garlic infused butter and let them gently cook to tender crisp. The addition of some lemon zest gave everything a little more zing.

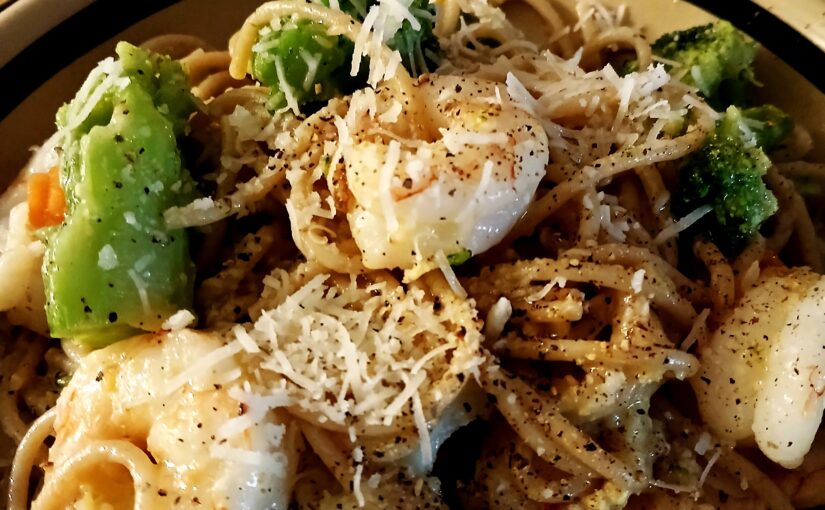
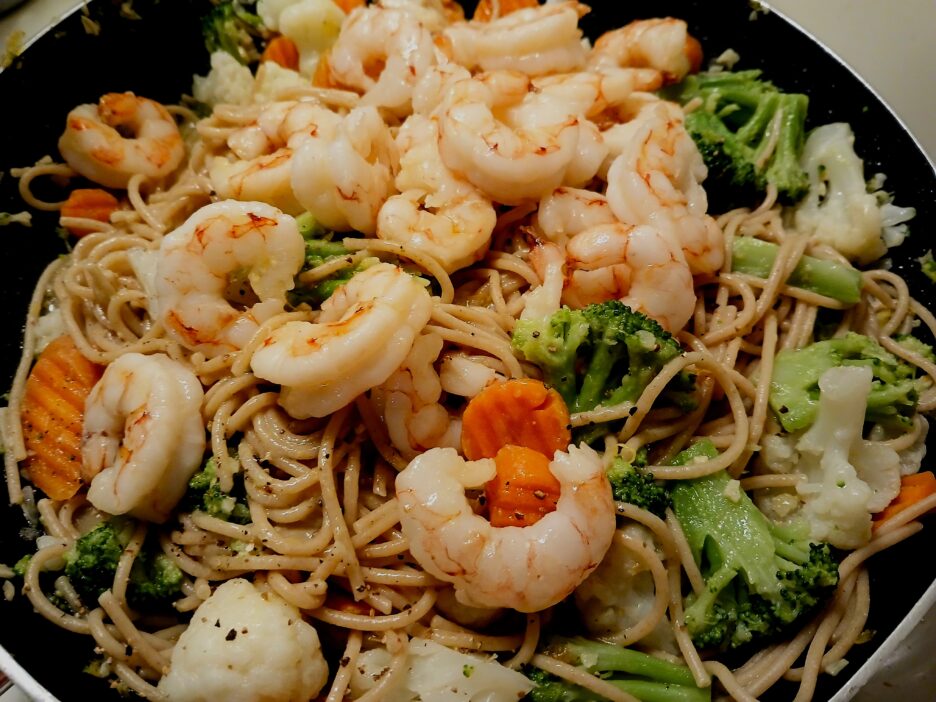
When the pasta was cooked, I drained it saving a generous half cup of pasta water. And now it was time to put the whole dish together. I added the pasta to the vegetables and then added the whole jar of lemon pesto. I tossed everything together adding enough of the reserved pasta water to create the perfect amount of sauciness. The shrimp came back into the pan and I added a good handful of Pecorino Romano. A few gentle tosses and a little heat and it was ready to eat.

This was a quick and easy almost one pot meal. Perfect for a Summer supper.

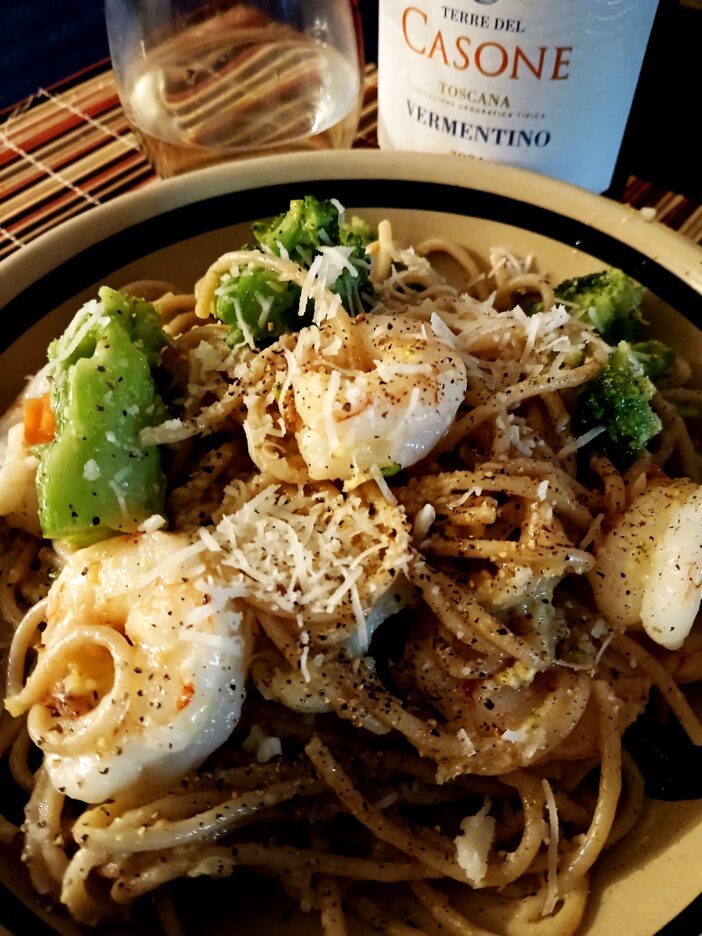
It paired perfectly with a light Italian Vermentino (this particular one came from Trader Joe’s, when I last checked it was not in stock). This varietal is available at larger wine and liquor stores.

Here is the recipe ready to be made to your liking.

Lemon Pesto Pasta with Shrimp
Course: Main Course
Author: binner216@comcast.net
Ingredients
  • 1 Pound Large Shrimp, peeled and deveined 16-20 size
  • 8 Ounces Spaghetti or Linguine
  • 4 Tbsp. Butter
  • 6 Cloves Garlic Minced
  • 1 Bag (10oz.) California Medley Vegetables Thawed and drained
  • 1-2 Tsp. Lemon Zest
  • 1 Jar Aldi Lemon Pesto
  • 1/3-1/2 Cup Pasta Water
  • 1/3 Cup Pecorino Romano Plus more for the table
  • Salt and Pepper to taste
Instructions
  1. Bring a large pot of salted water to a boil. Add the pasta and cook about 1 minute shy of done. While the pasta cooks, Cook the shrimp.

  2. Heat a large pan over medium heat. Add the butter and allow it to melt. Add the minced garlic and cook gently until it is soft and fragrant, but not browned.

  3. Add the shrimp and gently cook until they are just translucent and curling slightly. Remove the (and any clinging garlic) shrimp from the pan and set aside. Reserve the butter and some of the garlic in the pan.

  4. Add the thawed and drained vegetables to the pan. Toss with the butter and garlic and cook until they are tender crisp, about 5 minutes. Add the lemon zest and toss to combine

  5. When the pasta is cooked, reserve a half cup or so of the pasta water and drain the pasta.

  6. Return the shrimp and garlic to the vegetables in the pan. Add the pasta and the entire jar of the Lemon Pesto to the pan. Toss everything gently, adding pasta water to create a light creamy sauce..

  7. When everything is combined, add about half of the Pecorino and toss once more. Continue to cook until everything is hot and the cheese has melted. Taste and add salt and pepper if needed.

  8. Top with the remaIning cheese and serve.

Here’s to summer, lemons, and shrimp. Enjoy!

Marry Me Spaghetti Squash

Looking at that title, I want to clarify. I do not want to marry spaghetti squash. I am already in a committed relationship. There is a flood on food sights, however, for the “Marry Me” base and I am actually getting on the bandwagon (a little).

Where did this come from? As the story goes, it originated at Delish, a video food site. It was a skillet chicken dish with a Tuscan flavor featuring garlic, parmesan, cream, and sun dried tomatoes. Seeing the dish caused a producer to say that they would marry for it.  And that is how a trend was born.

Actually the ingredients are a wonderful combination and cooks soon realized that it could be used for all manner of proteins and in many cases vegetables. I have made several variations using chicken, but this latest experiment focused on the versatile and identity conflicted Spaghetti Squash.

It is a hard shell squash like the winter squashes, but the inside is a pale yellow and when cooked it becomes stringy and if done “al dent” is a bit crunchy.

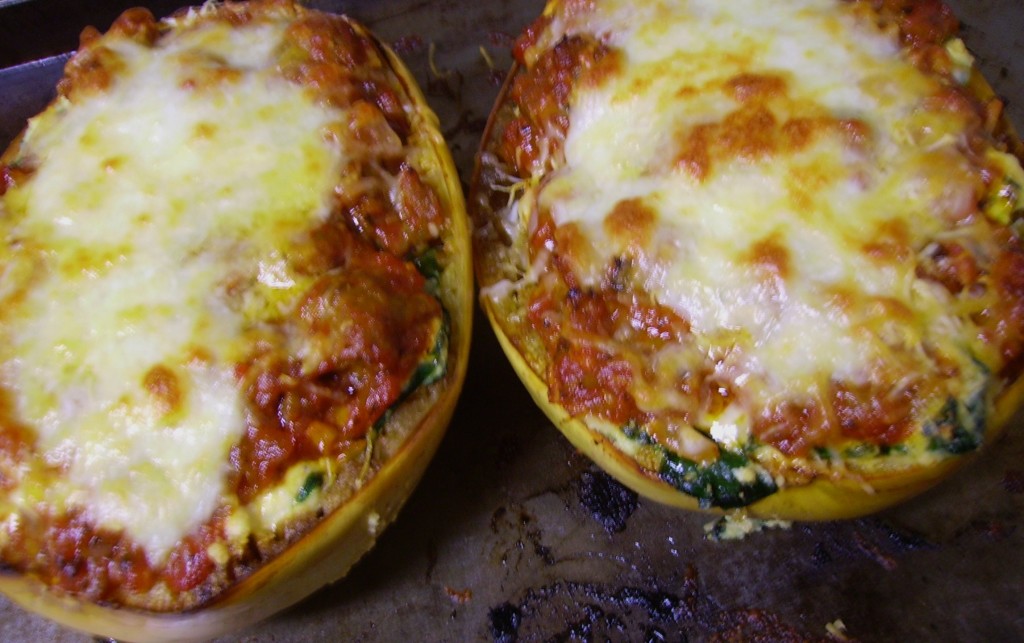
Some say it can be used in place of pasta. I find that a bit of a stretch. You really can’t twirl it on a fork and while it does get along with tomato based sauces, it really does shine with creamier toppings and in casseroles If you cut the squash carefully, the skin can become the baking/serving vessel. I posted a recipe many years ago doing just that. It was called Spaghetti Squash Lasagna and you can check out the recipe here.https://mamadskitchen.net/recipe/spaghetti-squash-lasagna/   

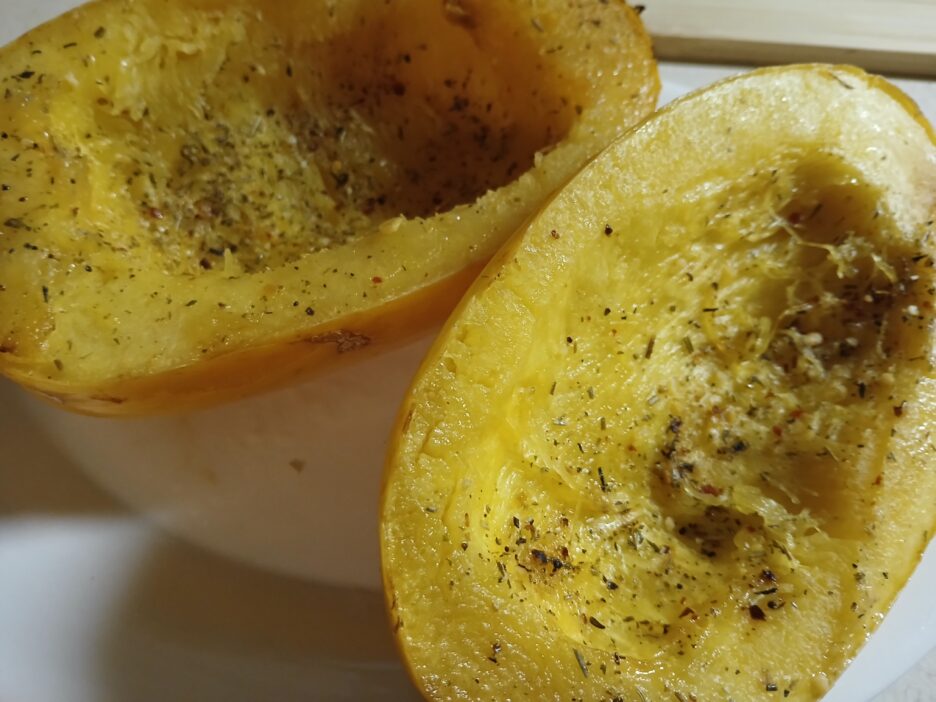
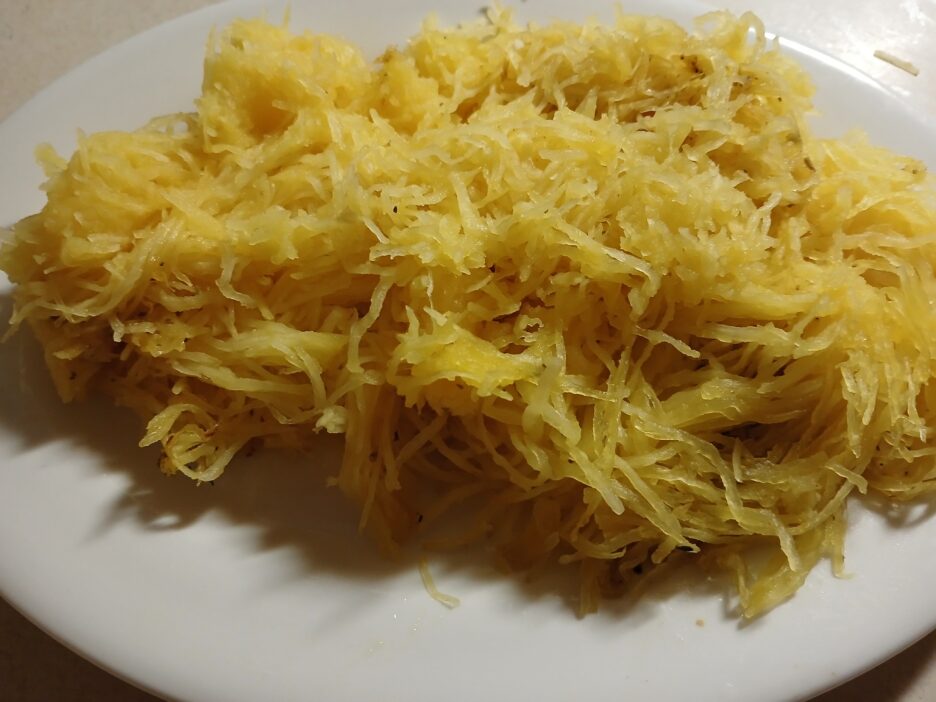
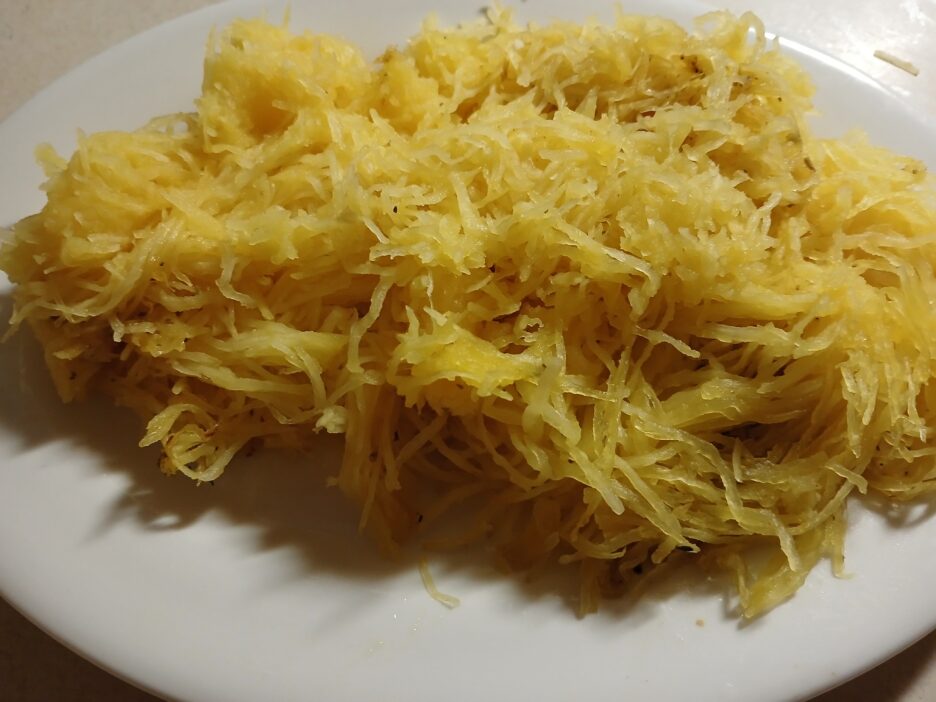
Now back to today’s dish. The base is oven roasted spaghetti squash. This is by far the best way to cook it.  Cut the squash in half length wise and scrape out the seeds. Spray the cut side with cooking spray and season to you liking. Bake cut side down on a foil lined baking sheet for 30 minutes or so at 350 degrees. The skin should yield a little when you touch it. Let it cool and then scrape the flesh out. It should come out in small strings.

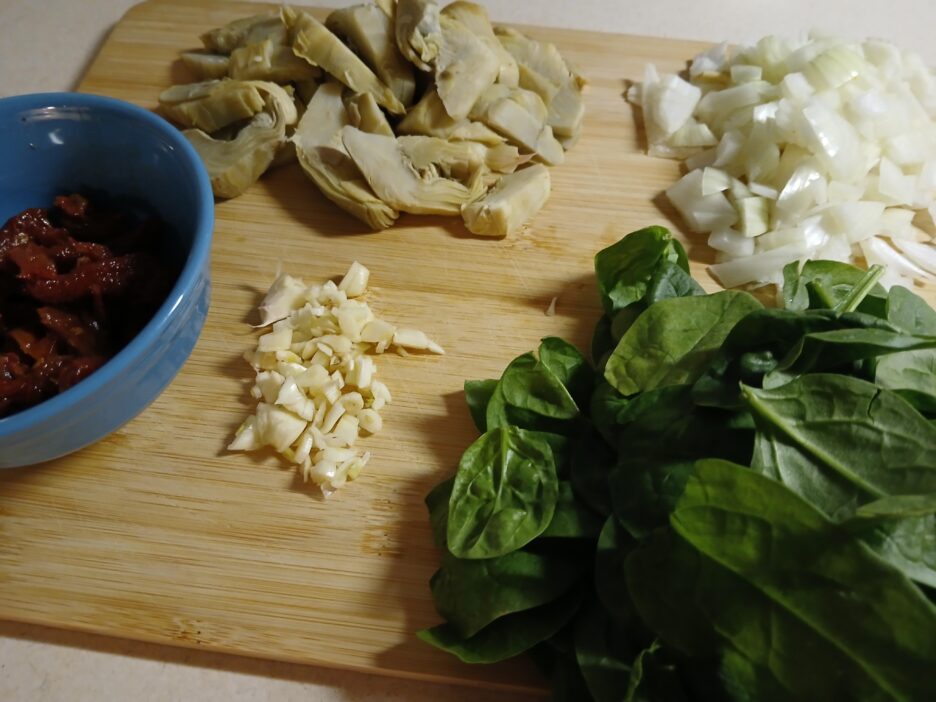
Now for the other ingredients. I did use the Marry Me cornerstones, sun dried tomatoes and garlic, but I added a few other ingredients that speak to me often, those are Artichoke Hearts and Spinach. Garlic gets lonely if it doesn’t have onions, so that went in too.

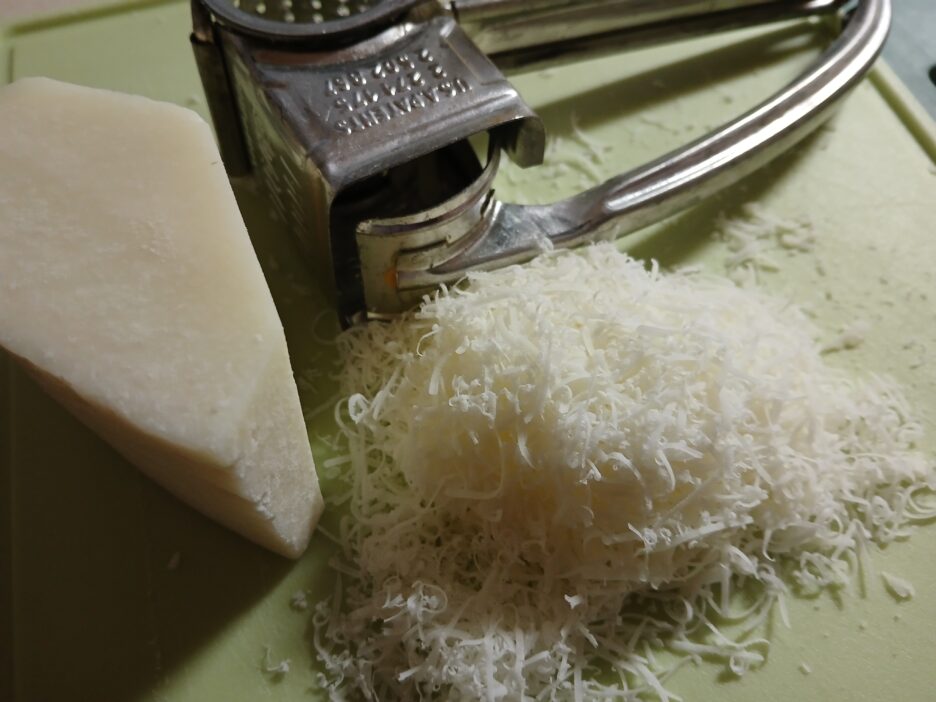
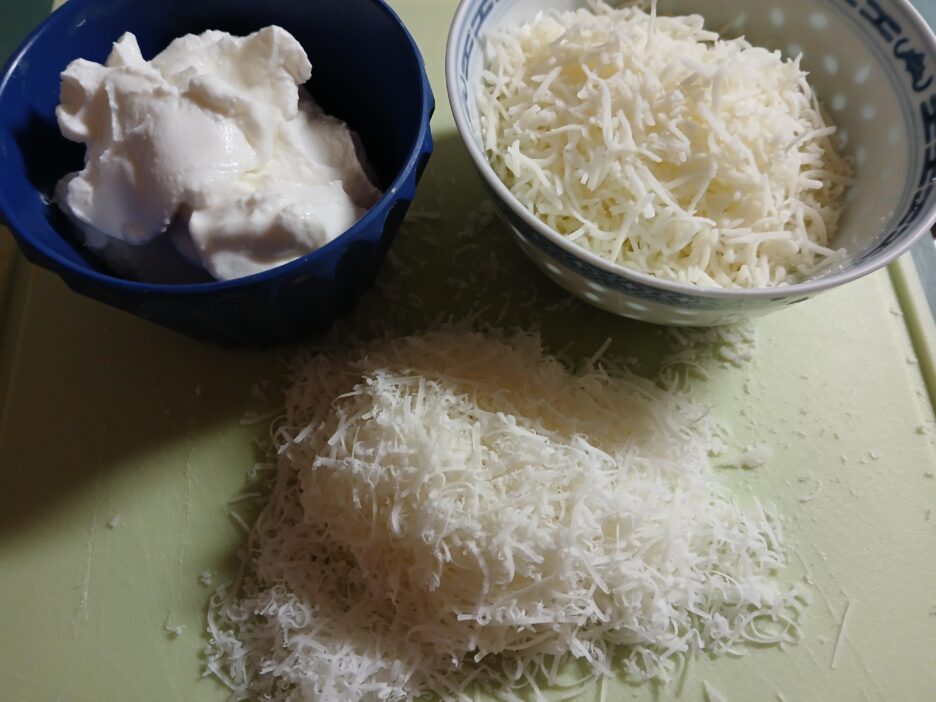
Cheese, in my recipe is pecorino romano. Freshly grated, it will give some sharpness to the dish.Yes, that is the Mouli Grater I have had since I was a bride (the first time).

Now for the sauce. I didn’t use cream, I didn’t have any, so I substituted Ricotta (whole milk) and to lighten it up just a little, some chicken broth The pecorino would also join the sauce. More about that other pictured cheese later.

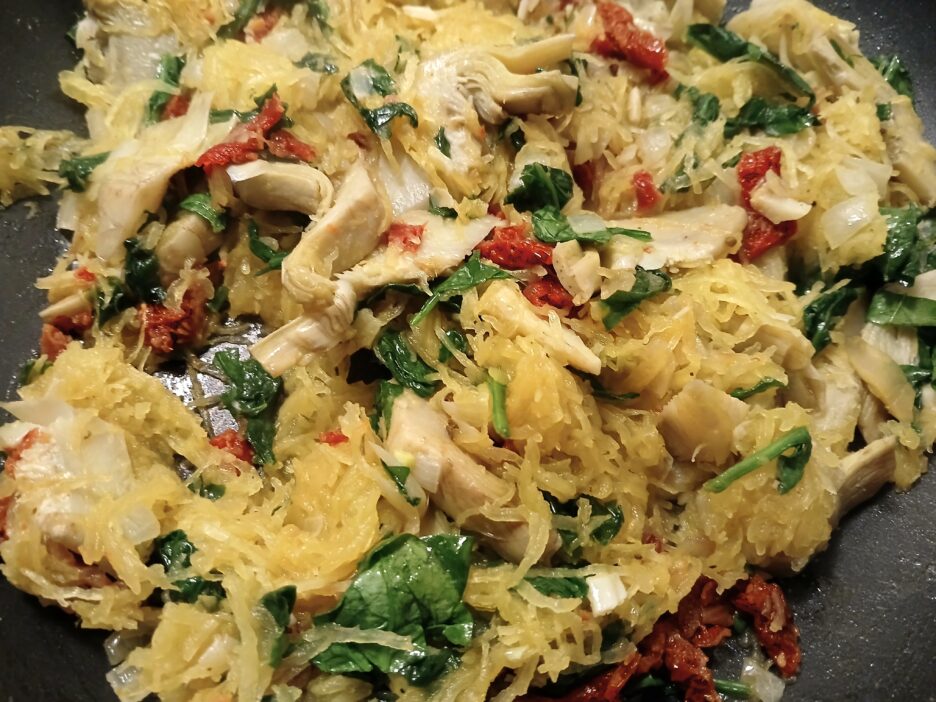
While the squash was roasting I cooked the other vegetables. A little olive oil and the onions went into the pan, followed shortly by the artichokes, garlic, sun dried tomatoes, and finally the spinach. Then I gently folded in the shredded squash and we were ready to turn it into a casserole.

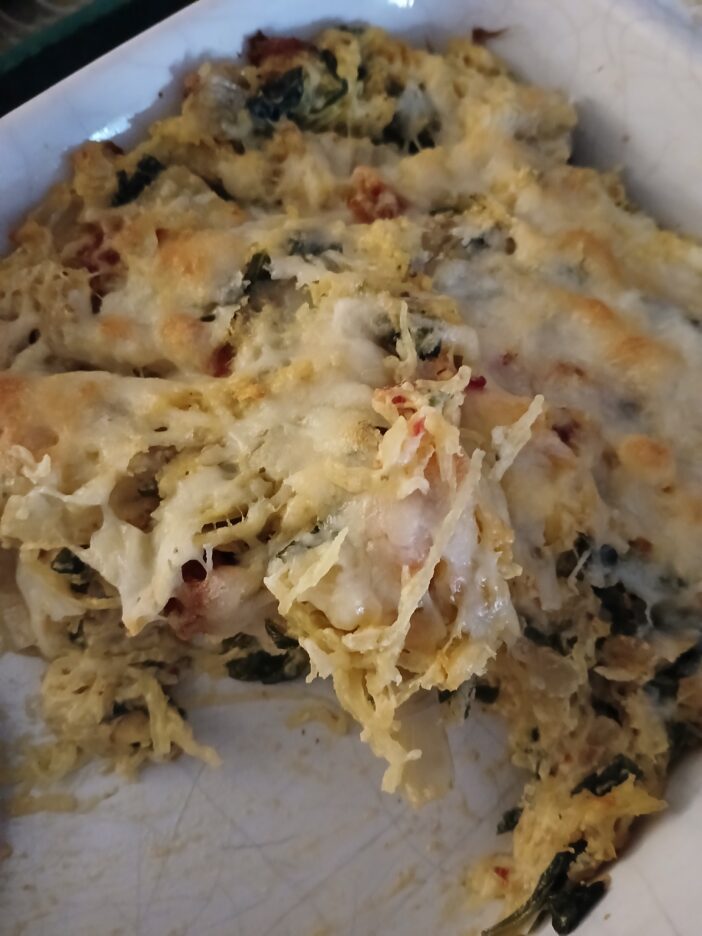
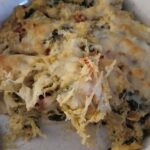
The sauce was Ricotta, Chicken Broth, and Pecorino. I played with the broth until everything was creamy but not soupy. Then it was into a casserole, topped with a foil bonnet, and into the oven. 20 – 30 minutes and it was time to replace the foil bonnet with a layer of that Italian Cheese Blend.

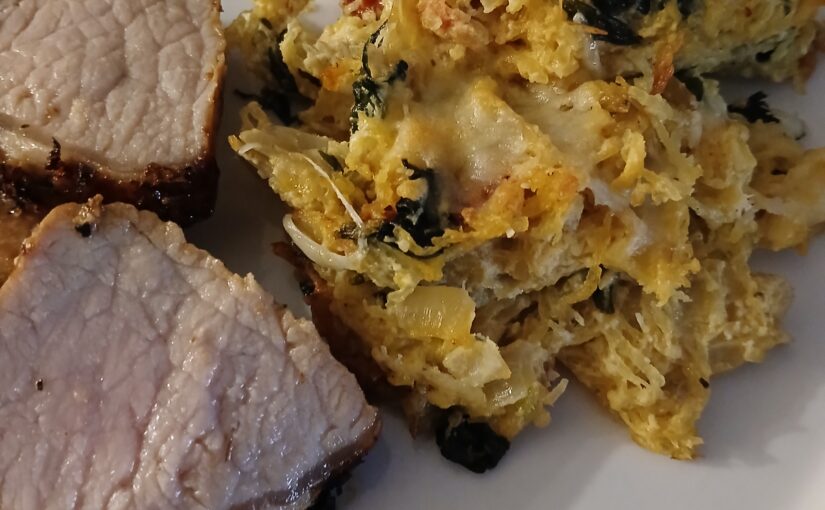
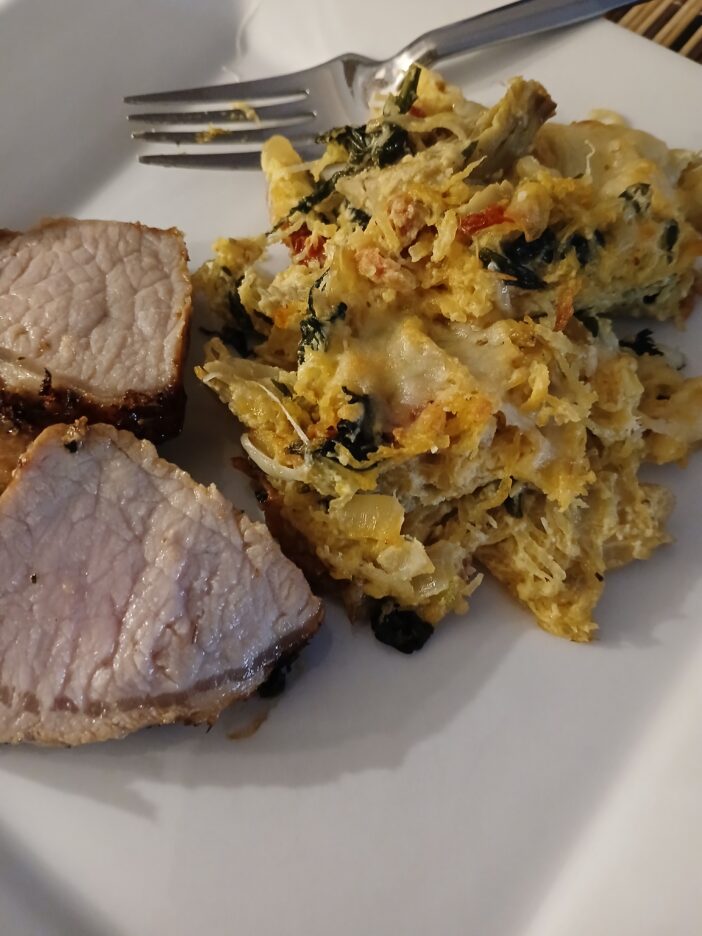
It came out beautifully golden and was too quickly scooped onto plates. It was a perfect accompaniment to grilled pork loin.

Here is the recipe. As always change it up and make it your own.

Marry Me Spaghetti Squash
Servings: 4
Author: binner216@comcast.net
Ingredients
  • 1-1/2 -2 Pound Spaghetti Squash
  • 1 Tbsp. Olive Oil
  • 1/2 Cup Chopped Onion
  • 2-3 Garlic Cloves
  • 1-1/2 Cups Frozen Artichoke Hearts Thawed and dried
  • 1/3 Cup Sun Dried Tomatoes
  • 4 Cups Spinach Roughly Chopped
  • 1/2 Cup Whole Milk Ricotta
  • 1/2 Cup Chicken Broth More or less as needed
  • 2-3 Tbsp. Grated Romano or Parmesan
  • 1/2 Cup Grated Italian Blend Cheese
Instructions
Roast The Spaghetti Squash
  1. Cut the squash in half lengthwise. A sharp knife and a bit of muscle will be necessary.

  2. Scoop out the seeds. Spray the cut sides with cooking spray or brush with olive oil. Season as you choose. (I used Mccormick Italian Herb Grater.) Place cut side down on a foil lined baking sheet.

  3. Roast at 350 degrees for 20 to 30 minutes. It is done when you can press on the skin and leave a little impression. Remove from oven and allow to cool cut side up until it can be easily handled. When cool, use a fork to scrape out the strings.

The Rest of the Ingredients
  1. In a large skillet heat the olive oil over medium heat. Add the onion and cook until it begins to soften. Add the artichoke hearts and cook until they begin to get some color. This should take 5 minutes or so.

  2. Add the garlic and cook for 2-3 minutes before adding the spinach. The spinach will seem like a lot, but it will cook down in a matter of minutes. Finally add the squash and sun dried tomatoes folding them in and cooking for 2-3 minutes.

  3. Stir in the Ricotta and gradually add enough of the chicken broth to make everything creamy. When you are happy with the consistency, add the grated Romano or Parmesan. Make sure everything is nicely blended and pour into a medium size casserole that you have lightly coated with cooking spray. Lightly cover with foil and bake for 20- 25 minutes at 350 degrees until it is just starting to bubble around the edges.

  4. Remove from the oven and sprinkle with the Italian cheese blend. Leave the foil off and return it to the oven. Bake until the cheese melts and is just beginning to brown. Let sit for a few minutes before serving.

Easter Pie (Calzone) Revisited


As Easter is just around the corner, in many Italian homes it is Calzone season. I shared my mother’s recipe a number of years ago and I thought it was time to make a few changes. Not to the recipe, that will never change, but to the presentation.

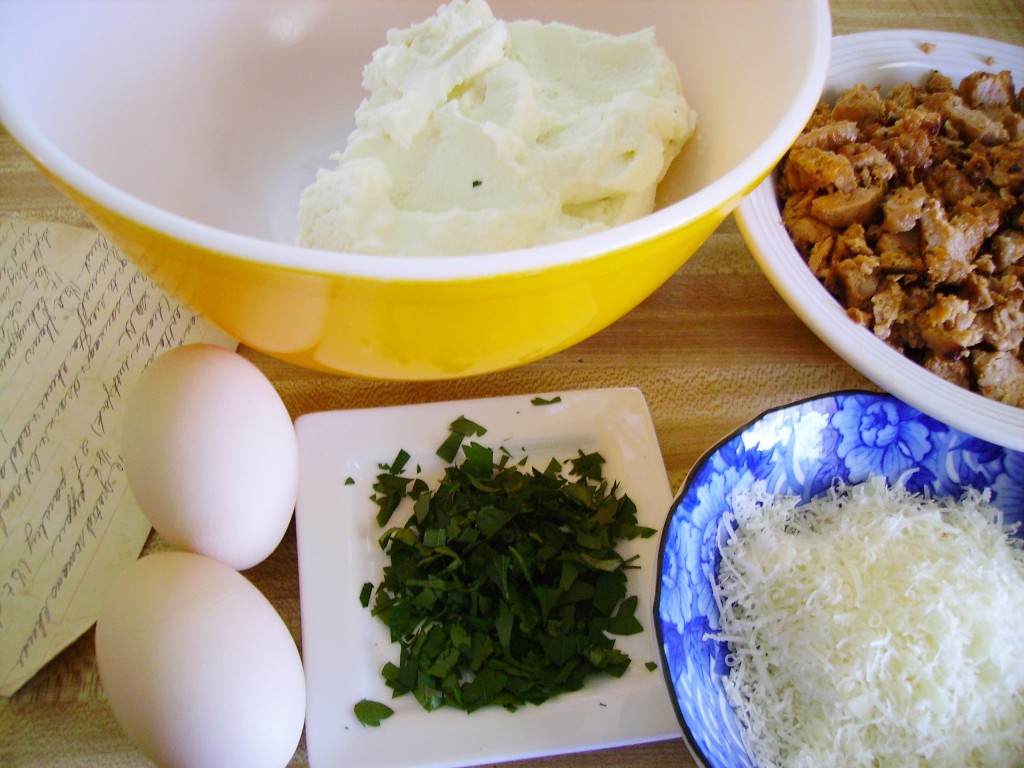
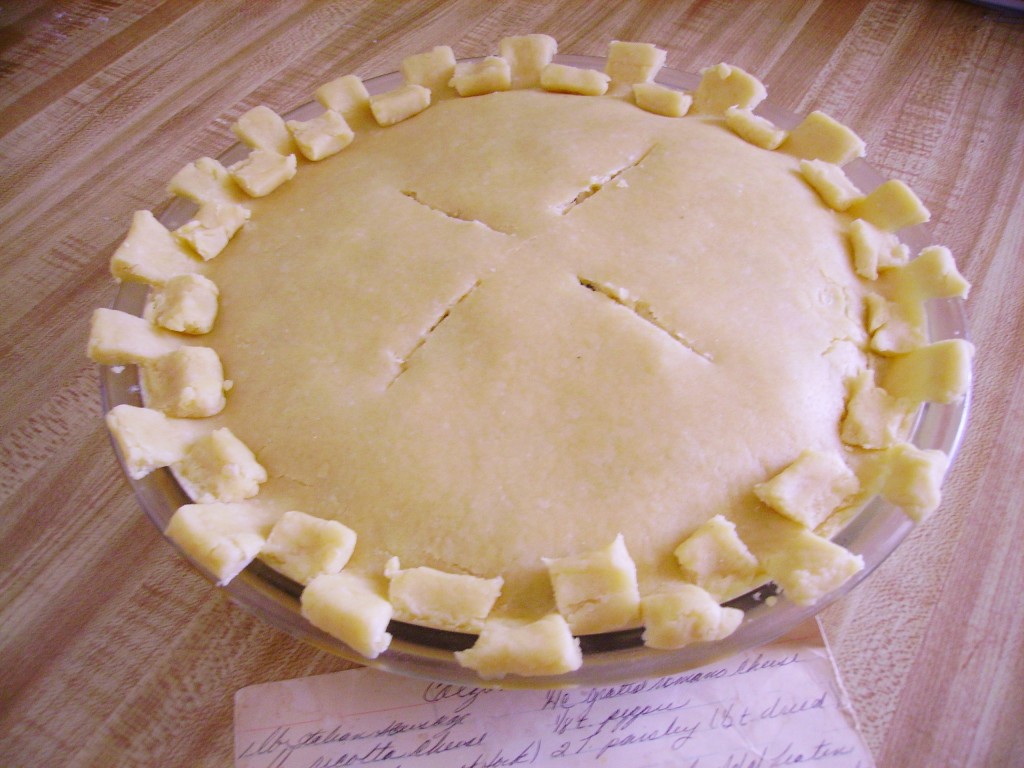
We always referred to it as Calzone (as a child I pronounced it “gout-zone”) but it is also known as Pizza Rustica, Pizzagaina, Torta Pasqualina or simply Easter Pie. Besides going by many names, there are easily hundreds of versions. My aunt always put hard boiled eggs and ham in hers. I’ve seen lots of recipes that use Touma Cheese and even some that don’t have meat. Every family and every region seems to have their own recipe. My mother’s is somewhere in the middle. It has a simple ingredient list of sausage, ricotta, and eggs. Pecorino Romano and parsley round out the ingredient list for the filling.

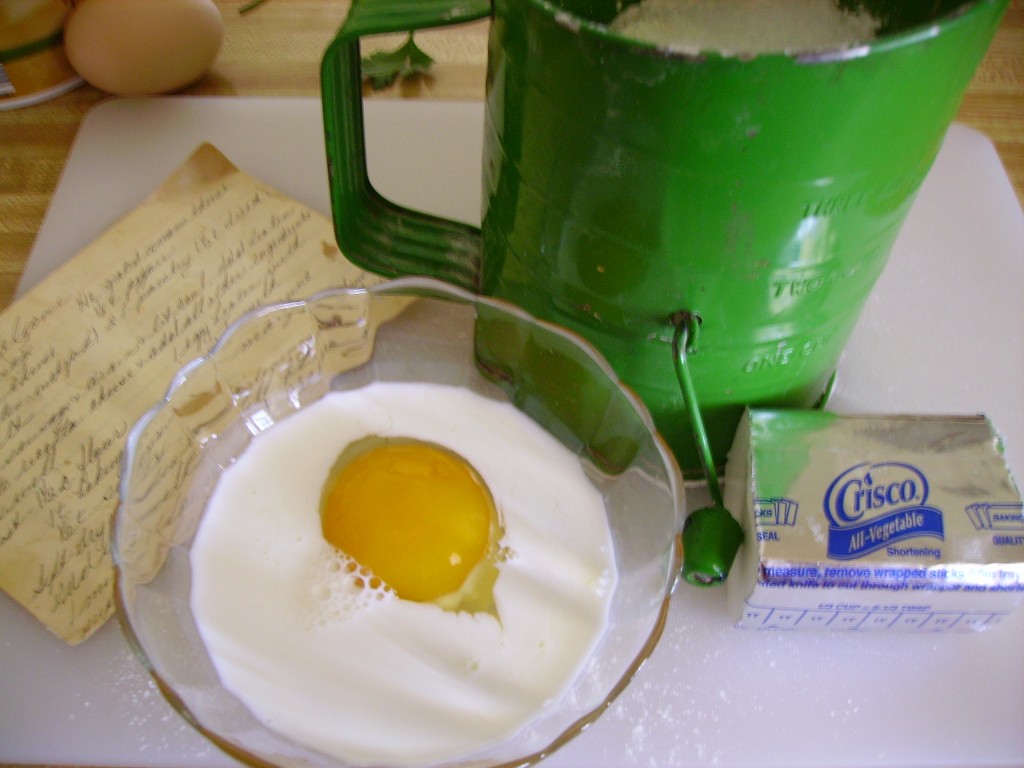
Her crust is heavenly, part pie crust part biscuit and 100% delicious.

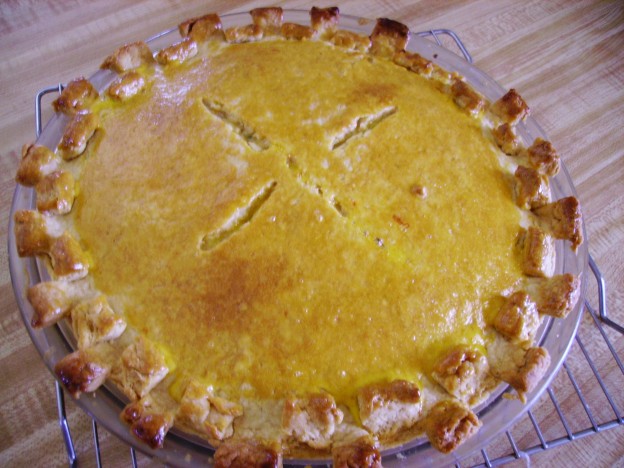
It all comes together in a pie plate and is topped with a crust. It heads into the oven.

When it is almost baked it gets brushed with egg yolk to create the glossy golden crust that always made my heart sing.

Here is her recipe.

5 from 1 vote
Easter Pie (Calzone)

A tradition in many Italian homes, this is my mother's (and her family's)version.

Servings: 8
Author: binner216@comcast.net
Ingredients
Crust
  • 1-1/2 Cups Flour
  • 1 Tsp. Baking Powder
  • 1/2 Tsp. Salt
  • 1 Egg
  • 2 Tbsp. Milk
  • 1/2 Cup Shortening or Butter
Filling
  • 1 Lb. Italian Sausage Bulk is easiest
  • 1 Lb Ricotta Whole Milk
  • 2 Eggs Lightly beaten
  • 1/4 Tsp. Black Pepper
  • 1/3 Cup Pecorino Romano Grated
  • 2 Tbsp. Parsley Chopped
  • 1 Egg Yolk To glaze the crust
Instructions
Crust
  1. Sift the dry ingredients together in a large bowl. Cut in the shortening (or butter) until it is well blended

  2. Beat the egg and milk together and add to the dough mixture. Blend well and turn out on a floured surface and knead for one minute. Wrap in plastic and chill for about 30 minutes.

Filling
  1. Cook the sausage and drain on paper towels. Allow it to cool.

  2. Place the ricotta in a large bowl, add the beaten egg, cheese, parsley, pepper, and cooled sausage. Stir gently to blend.

Assembly
  1. Remove the dough from refrigerator. Lightly spray the pie pan with cooking spray and preheat the oven to 400 degrees.

  2. Divide the dough in half and roll one half out on a floured surface. Roll to a size that will cover the bottom of a 9 inch pie pan and extend up over the rim. Place the crust in the prepared pie pan.

  3. Spoon the filling into the crust smoothing it out evenly. Roll out the other half of the dough and place it on top of the filling. Cut several slits in the top crust to let steam escape. Crimp the edges to seal it well. If desired, snip the edges and fold the pieces in an alternating pattern.

  4. Bake in preheated oven for 30-35 minutes. About 15 minutes before the end of the baking time brush the top crust with beaten egg yolk. When the crust is golden brown remove it from the oven and allow to cool to room temperature. Serve for Easter breakfast or whenever you would like. Store leftovers in the refrigerator.


Have a joyful and blessed Easter.

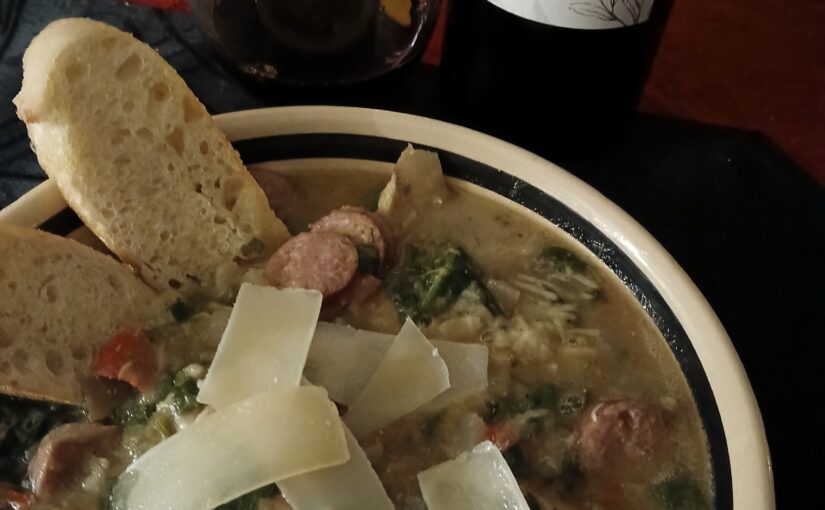
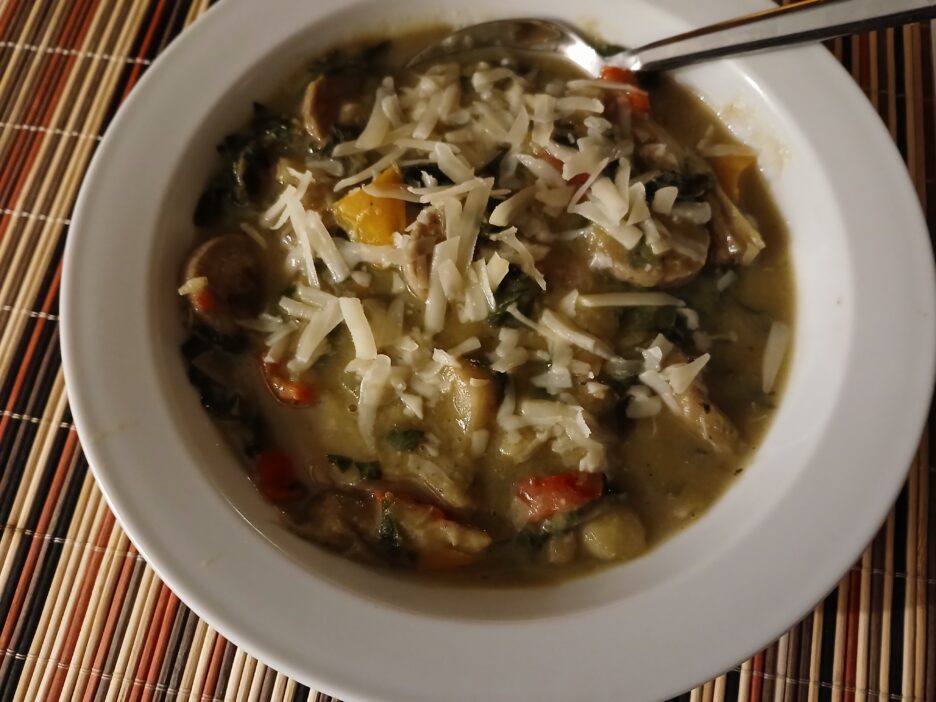
Artichoke & Spinach Soup with Chicken Sausage (The Update)

I recently posted about a Roasted Artichoke Salad and attached an earlier post that shared two other artichoke recipes. Time passes (10 years) and changes happen (downsizing) and those two recipes, while still viable as they are, have changed in how they are prepared in the Kitchen of Love. 

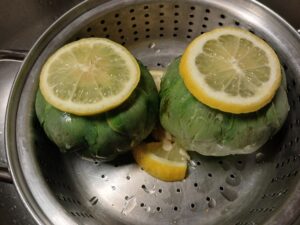
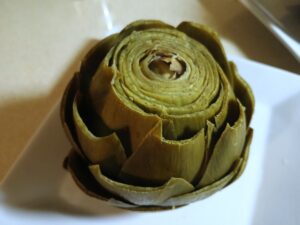
First off, I no longer have a microwave, so when I prepare whole artichokes these days I steam them on the stove.  Prep is still the same and the ingredients are also the same. The artichokes are trimmed washed and given a lemon massage. Now when it is time to cook them I place them in a steamer basket in a large pot of water laced with pieces of lemon and crushed garlic. The pot is covered and the heat is turned to medium high and the artichokes steam until tender, 20-30 minutes depending on the size. They still turn out beautifully cooked with lots of scrapable meat on the leaves and  tender and succulent hearts.

I confess that I had forgotten about the soup recipe and when I read through it, I thought it needed an update to the ingredients that I use in the Kitchen now. In particular my artichokes of choice are now the the frozen variety.

The spinach is now more often the fresh variety that is so conveniently available everywhere, clean and ready to use. 

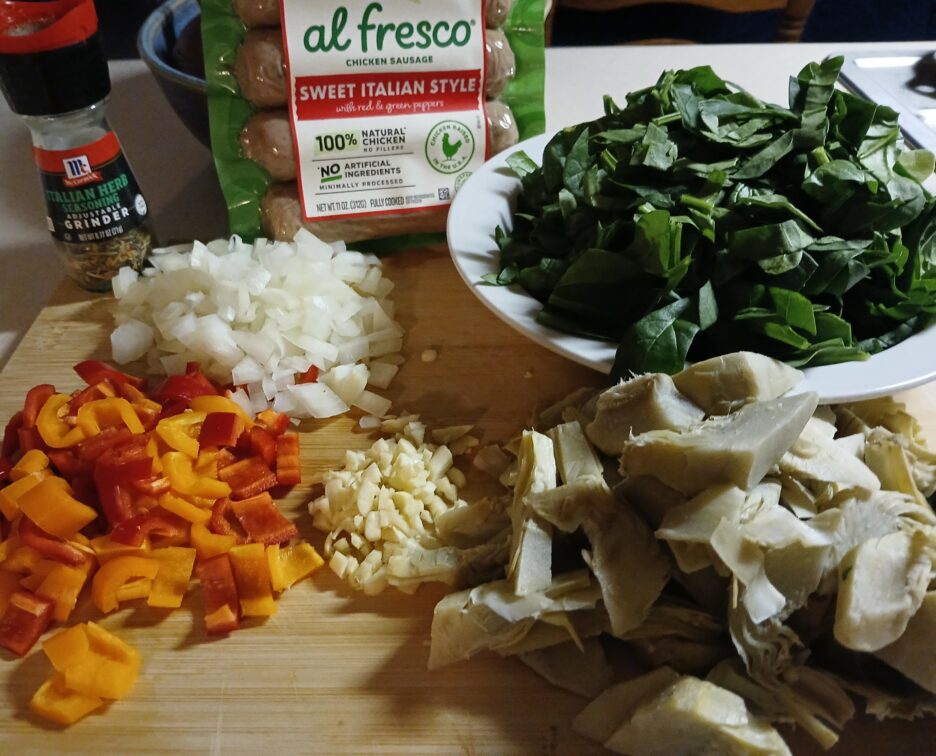
These two changes have elevated the soup, in my opinion, to a new level. While I was experimenting, I also changed a bit of the prep. I find it easier to cook the artichokes in the pan after browning the sausage along with the onions and peppers (I used Lollipeppers). I did need to add a bit more olive oil to keep everything moving.

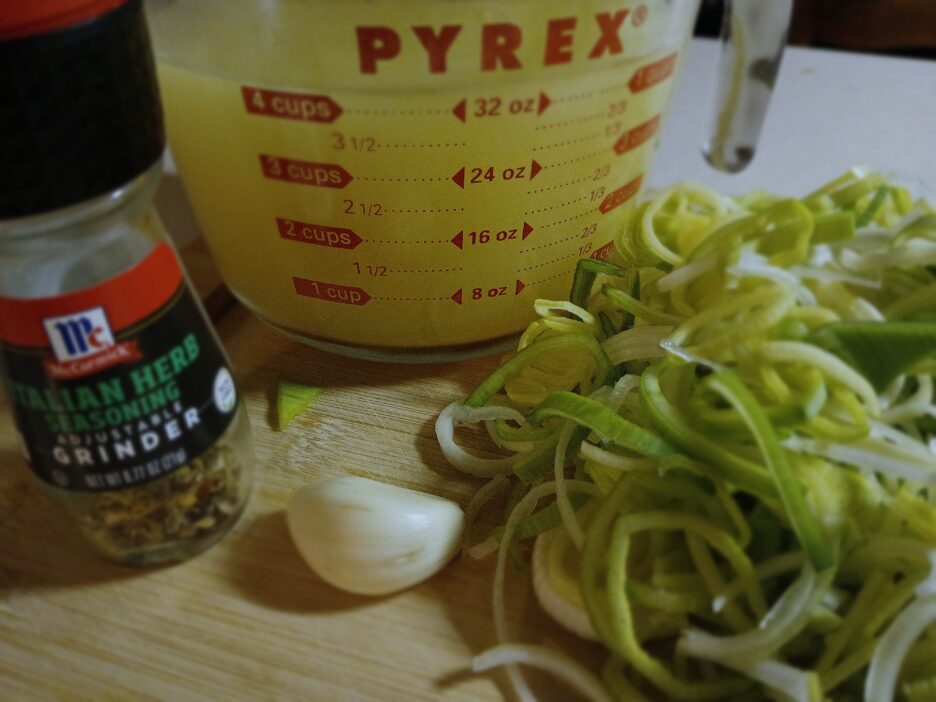
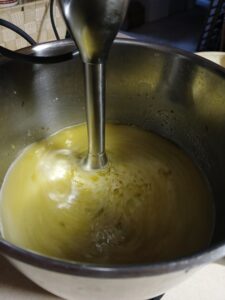
One thing I didn’t change was the preparation of the stock base. Sauteing thinly sliced leeks with garlic in some olive oil before adding the stock is a good beginning. When the stock is added and simmered for awhile, the use of an immersion blender creates a dairy free, creamy base that has a deeper flavor, especially if you are using ready made stock/broth. This technique could be a good addition to many other soup recipes that could benefit from a little more body and flavor. I have also kept the McCormick Italian Herb Grinder in the mix. It is an aromatic blend that you can grind as needed that feels a little fresher than regular dry Italian blends.

While the stock is simmering, the other ingredients go through their pre-soup prep. This involves browning the of the sausage, artichokes, onions and peppers. This deepens the flavor of the finished soup and in my opinion is worth the extra time.

First into the pan is the sausage. Cut in chunks, they brown up quickly then leave the pan to make way for the artichokes. I lay them in an even layer to start and left them pick up some color on one side before flipping them over. Once they vacate the pan, the onions, peppers and garlic take their turn to get some extra flavor.

Once everything is ready, it is time to get everything acquainted. So the sausage and vegetables go into the pot with the stock and the spinach. Now, all that is left is some together time ( say 15-20 minutes) and we can call it soup.

Here is the new and, I think, improved recipe.

Artichoke and Spinach Soup with Chicken Sausage
Course: Soup
Cuisine: Mediterranean
Author: binner216@comcast.net
Ingredients
  • 2 Tbsp. Olive OIl Divided, more as needed
  • 1 Large Leek, thinly sliced
  • 5 Cloves Garlic, chopped Divided
  • 1 Quart Chicken Stock
  • McCormick Italian Herb Blend Or seasoning of your choice
  • 1 12 Oz. Pkg. Frozen Artichoke Hearts Thawed
  • 12 Ounces Chicken Italian Sausage (precooked) Sliced
  • 3/4 Cup Chopped Onion
  • 3/4 Cup Colored Baby Bell Peppers Chopped
  • 4 Cups Fresh Spinach Chopped
  • Red Pepper Flakes Optional
  • Grated Parmesan Cheese For serving
Instructions
  1. For the Stock Base: Heat 1 tablespoon of olive oil in a soup pot. Add 2/3 of the garlic and the leeks and cook, stirring frequently until the leeks are soft and fragrant. Add the stock to the pot and raise the heat to medium high and bring to a boil. Lower the heat to maintain a good simmer and cover. Cook for 15 minutes or so until the leeks are very tender. Allow it to cool for a few minutes (to reduce hot splashing). Using an immersion blender, puree until very smooth. Stir in the herb blend to you taste and set aside.

  2. While the stock is cooking brown the other ingredients. Add a tablespoon of olive oil to a large fry pan, heating over medium heat. Add the sausage in a single layer and cook for 5 minutes until lightly browned, turn and brown other side. Remove from the pan. If your stock is ready add them to the pot.

  3. If needed, add a bit more Olive Oil. Add the artichokes in a single layer and brown them on one side until they have picked up a bit of color. Flip over and brown the other side. Remove from the pan and add to the pot.

  4. Add the onions peppers and reaining garlic to the fry pan, adding a bit more olive oil if necessary. Cook until just beginning to soften. Remove from pan and add to the pot.

  5. Add the chopped spinach and as many grinds as you want of the herb seasoning to the pot and give everything a good stir. Simmer over medium heat at a simmer for 15-20 minutes to give all the flavors a chance to blend.

  6. Give it a taste and add more herb blend, salt, or pepper to your taste, and if it's how you roll, some red pepper flakes. Serve with grated parmesan cheese and some crusty bread.

I hope that you will give this recipe a try, and as always, make it your own.